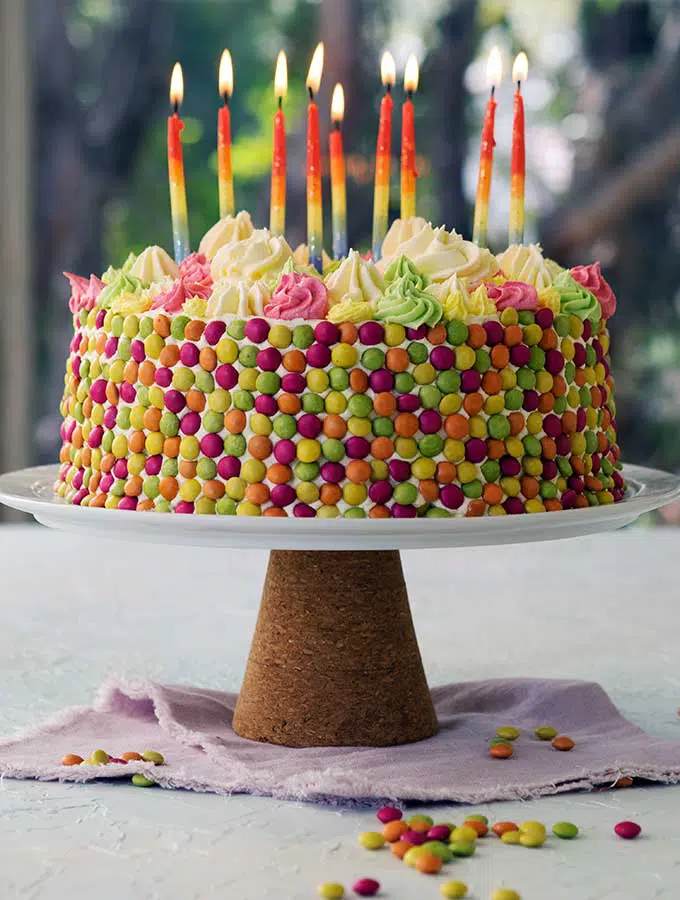
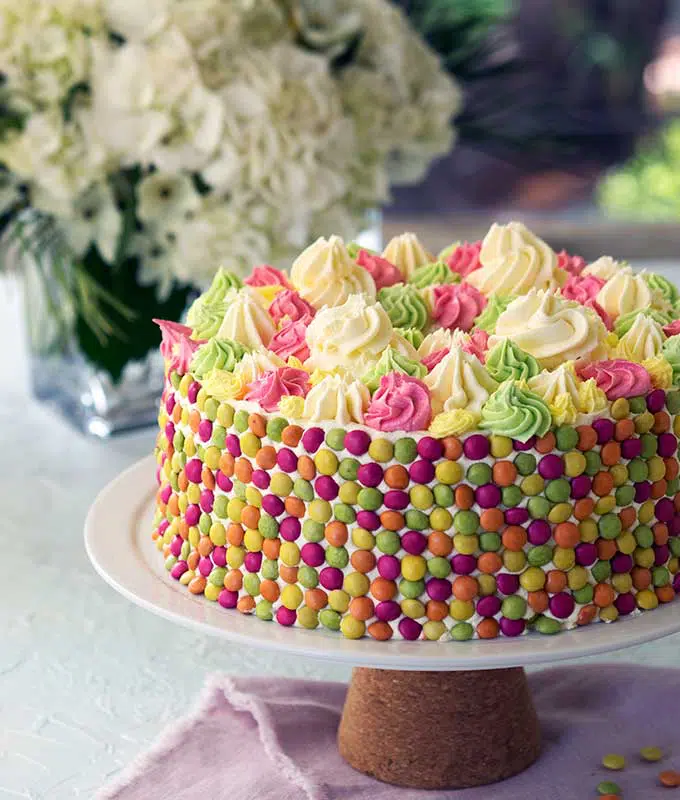
Light as air smarties chiffon cake, the perfect birthday celebratory cake. Decorated with mini smarties and copious amounts of piped fluffy buttercream icing.
Time goes by so quickly. I find it a little unbelievable that Belly Rumbles turned nine last Friday. As usual, I was going to let the blog anniversary come and go without a fuss.

It was Josh that convinced me to do something. Pointing out that nine years is a big deal and I should be proud. A lot of blogs come and go, and nine years later Belly Rumbles is still around. He’s right, and that’s why this weekend I baked a smarties chiffon cake to celebrate.
Nine years ago, I wrote my first blog post. Belly Rumbles started simply with one post. Unlike bloggers today I hadn’t curated a number of recipes or travel stories to launch the blog. Unlike blogs today there weren’t any pretty pictures to accompany my written words.


There wasn’t even a recipe. It was a simple hello, I’ve started a blog. With the hope that somebody might read it, but if nobody did, no big deal. Belly Rumbles was my hobby and creative outlet.
But read you did, and I thank you.
Nine years ago I had what writing Belly Rumbles had installed for me. I had no idea that a hobby, a creative outlet, would become a full-time passion and business. Who knew? I certainly didn't.
I have wanted to make a bright and cheerful birthday cake to share on the blog for quite some time. With four packets of mini smarties in the cupboard and my love of chiffon cake, oh hello smarties chiffon cake.
What I didn’t realise at the time was how tiny mini smarties are. Plus they aren’t the same colour as regular smarties.

The smarties chiffon cake is based on my popular vanilla rose chiffon cake. To match the colour explosion of smarties I coloured the chiffon cake batter blue using butterfly pea flower powder. At the time I thought this was a brilliant idea for a smarties chiffon cake. Blue to match blue smarties and create a vibrant cake.
Oh dear, I made a rooky mistake, assumption. Not opening the packet of mini smarties to have a look before baking the chiffon cake. You know that saying “to assume makes an ass of u and me”?

Guess what folks, there aren't any blue smarties in the mini smarties packets. There are four colours, all a little washed out, yellow, lime green, orange and a bright pink colour burst saviour.
I baked the cake the night before only discovering the smarties colour disappointment the next day. I kicked myself for not being thorough and checking. I wished I had used my alternate cake idea, using freeze dried strawberry powder for colour and flavour.

Would I ever use mini smarties to decorate a cake again? Hell no! Those little bastards took ages to fix to the buttercream around the cake.
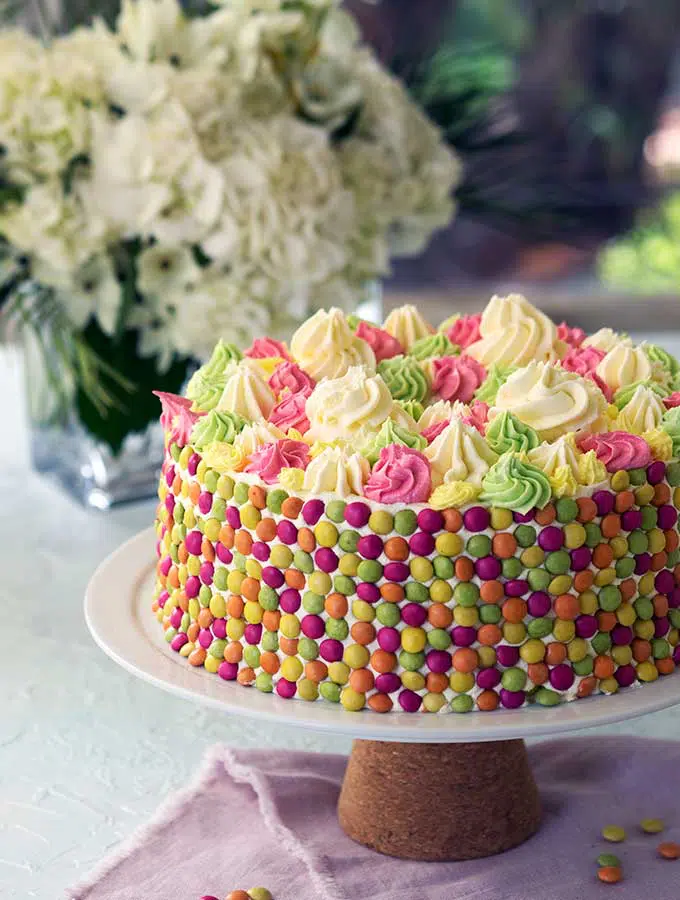
Was it worth the time and effort with the minis for the smarties chiffon cake? A big YES! In the end, it was. I loved the polka dot look they give the chiffon cake.
My only let down is the chiffon cake colour. It's fine, but could be better. Colour it pink, orange or green. Or leave it as a plain vanilla chiffon. Or go blue and use regular smarties.
 Special equipment for this recipe
You will need a chiffon or angel food tin with extended legs for this recipe. If you don’t have one don’t panic. Use a ring cake tin and place the tin upside down over a bottle to cool. You stick the neck of the bottle in the hole in the centre of the cake tin.
Special Ingredients for this Recipe
Butterfly pea flower powder can be found at health food stores or purchased on line. It is regarded as a superfood and is great in smoothies, added to yoghurt and other healthy treats. It acts as a wonderful natural food colour too.
What to do with any leftovers
Are you kidding, what leftovers?? Any leftover cake should be stored covered in the fridge. Make sure you place some cling wrap/plastic film against the cut sides of the cake. This ensures the cake doesn’t dry out.
I had some leftover buttercream icing. This can be stored in an airtight container in the freezer for use another day.
Sara xxx
Printable Recipe

Smarties Chiffon Cake
Special Equipment
- Chiffon Cake Tin
Ingredients
- 7 eggs separated
- 1.7 grams (½ teaspoon) cream of tartar
- 220 grams (1 cup) caster sugar
- 300 grams (2 cups) plain flour
- 12 grams (2 ½ teaspoons) baking powder
- 1 teaspoon butterfly pea flower powder
- ½ teaspoon salt
- 125 ml (½ cup) vegetable oil
- 190 ml (¾ cup) milk
- 1 tablespoon vanilla bean paste
Buttercream Icing
- 4 cups pure icing sugar, sifted
- 500 grams (2 cups) butter, room temperature
- 40 ml (2 tablespoons) milk
- white, pink, green and yellow food colouring
Decorations
- 3 packets mini Smarties, or regular size ones
Instructions
Chiffon Cake
- You will need at 23 cm (9 ¼ inch) angel food cake tin with extended feet and a removable base for this recipe. Do not grease or line your tin.
- Pre-heat oven 160°C (325°F). 21cm 8.5inches
- Using a stand mixer whisk egg whites and cream of tartar in a large bowl until stiff peaks form. Gradually add ½ cup of the caster sugar, continue to whisk until mixture is stiff and glossy. Set bowl aside.
- In a separate bowl beat egg yolks, oil, milk and vanilla until pale yellow. Sift in flour, baking powder and butterfly pea flower powder, then add remaining sugar and salt. Continue beating until well combined at a medium speed.
- Remove bowl from stand mixer and fold through ⅓ egg white mixture. Once incorporated gently fold through remaining egg white mixture until just combined. Don’t over mix.
- Pour batter in to an ungreased angel food cake pan. Place in the oven and bake for 50 minutes.
- After 50 minutes turn up the heat of the oven to 180°C (350°F) for an additional 15 minutes. Cake is cooked when you gently press it in the middle with a finger and it springs back.
- Once out of the oven turn cake tin over and allow to cool completely upside down.
- Once cool turn cake tin back over and run a sharp thin knife around the outside edges of the tin and then around the central tube. From underneath gently push the cake out from the bottom, it will still be attached to the removable base. Once removed from the tin, gently remove cake from the base, again using the sharp knife.
- The top of the cake when cooking becomes the base of your cake for decorating and serving. This is how you get that perfectly flat top. If your cake hasn’t risen evenly, you may wish to trim it slightly, so it sits level.
- Decorate cake with buttercream and mini smarties.
Buttercream Icing
- Buttercream icing for the base: In a stand mixer with a balloon whisk place 250g of butter which has come to room temperature. Whisk for at least 5 minutes until the butter is pale and fluffy.
- Gradually add 2 cups of sifted icing sugar, beating well between each addition. Then beat through milk.
- Beat through a few dashes of white food colouring to whiten the buttercream. You don't need to do this step, it is your preference for buttercream colour.
- Cover buttercream icing with cling/plastic wrap until needed.
- Buttercream icing for the top of the cake: In a stand mixer with a balloon whisk place 250g of butter which has come to room temperature. Whisk for at least 5 minutes until the butter is pale and fluffy.
- Gradually add 2 cups of sifted icing sugar, beating well between each addition. Then beat through milk.
- Divide buttercream icing into 3 bowls. Colour each bowl with pink, yellow and green. Place icing in piping bags with desired piping nozzles. I used a combination of closed star nozzles. Seal the ends of the piping bags with a twist, and place in the fridge until needed.
To Decorate the Smarties Chiffon Cake
- Place chiffon cake on a board or the plate/cake stand you wish to serve the cake on.
- Using an offset spatula cover the cake, sides and top with a crumb coating of white buttercream. This is a think coating of buttercream on the sides and the top of the cake to catch crumbs before the final coat of buttercream.
- Place the cake in the fridge for 20 minutes, to allow the crumb coat of buttercream to set.
- After 20 minutes, smooth a final coat of buttercream on the sides and top of the chiffon cake. Make it thick enough that you can not see the cake or crumbs through the icing.
- Place remaining white buttercream in a piping bag with a nozzle.
- With mini smarties cover the sides of the chiffon cake.
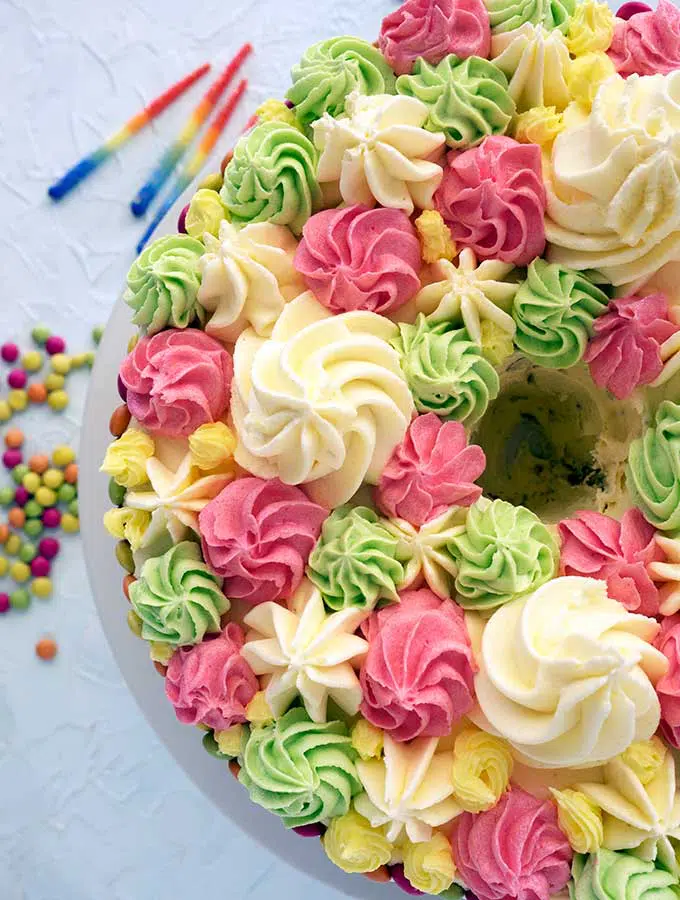
- Once the sides of the cake have been covered with smarties pipe various sized stars and swirls. Alternating colours, pink, green, yellow and white to achieve a flower garden look.
- Store the smarties chiffon cake in the fridge until you are ready to serve.
Oven Temperatures
All oven temperatures are fan forced.
Measurement Notes
All measurements are Australian metric standard. All measures are level, and cups are lightly packed unless specified. 1 teaspoon = 5ml / 1 tablespoon = 20mls / 1 cup = 250ml /4 teaspoons = 1 tablespoon.
Recipe Notes
NUTRITIONAL INFORMATION
The recipe's nutritional information is an approximation based on an online calculator. It is meant solely for reference purposes. If you're looking for precise details, be sure to double-check with your own research.


Alexia
It looks cute! Can I decorate the cake the night before and store in the fridge (due to hot weather) or will the colour of the smarties leak ??
Sara McCleary
Hi Alexia
Thank you for the cute comment, it is a happy cake for sure. I stored the cake in the fridge as I was in the same situation as you in regard to heat and humidity.
The smarites didn't run. But I do know that sometimes colour does run on coated candies. I used mini smarties that are available in Australia. I think that you will be fine.
Do let me know how you go!
Cheers, Sara
Pat @ Wholesome Kitchen
Thanks for this..looks great and beautiful!
Alexandra
Happy Anniversary! What an awesome celebration! That is a huge achievement!
Alex xx
Sonal
Gorgeous looking cake there. Happy Blog Anniversary. 9 years sure is a big deal. A great use of those smarties on the cake making it more colorful. Your colorful pretty color icing makes the cake look all the more appealing.
Sara
Thank you Sonal that's so sweet of you.
Jori
This cake is gorgeous!! Well done!
Sara
Thanks so much Jori x
Kristina
Wow! This cake is stunning! I love all the colors that you have in it!
Sara
Thanks so much Kristina x
Stef
Happy Anniversary! Congrats on all you have achieved with this blog. You are clearly a smartie! Beautiful cake too!
Sara
Hehe thanks Stef x
Emily
I have never heard of butterfly pea powder before, but now I am dying to try it! And the cake looks amazing. It was definitely worth the time it took to put all those tiny candies on it.
Sara
Thanks so much Emily. I could have killed the candies while putting them on, arrggghhhh! 😉
Gaby
Happy anniversary Sara!
Sara
Thanks Gaby xoxo