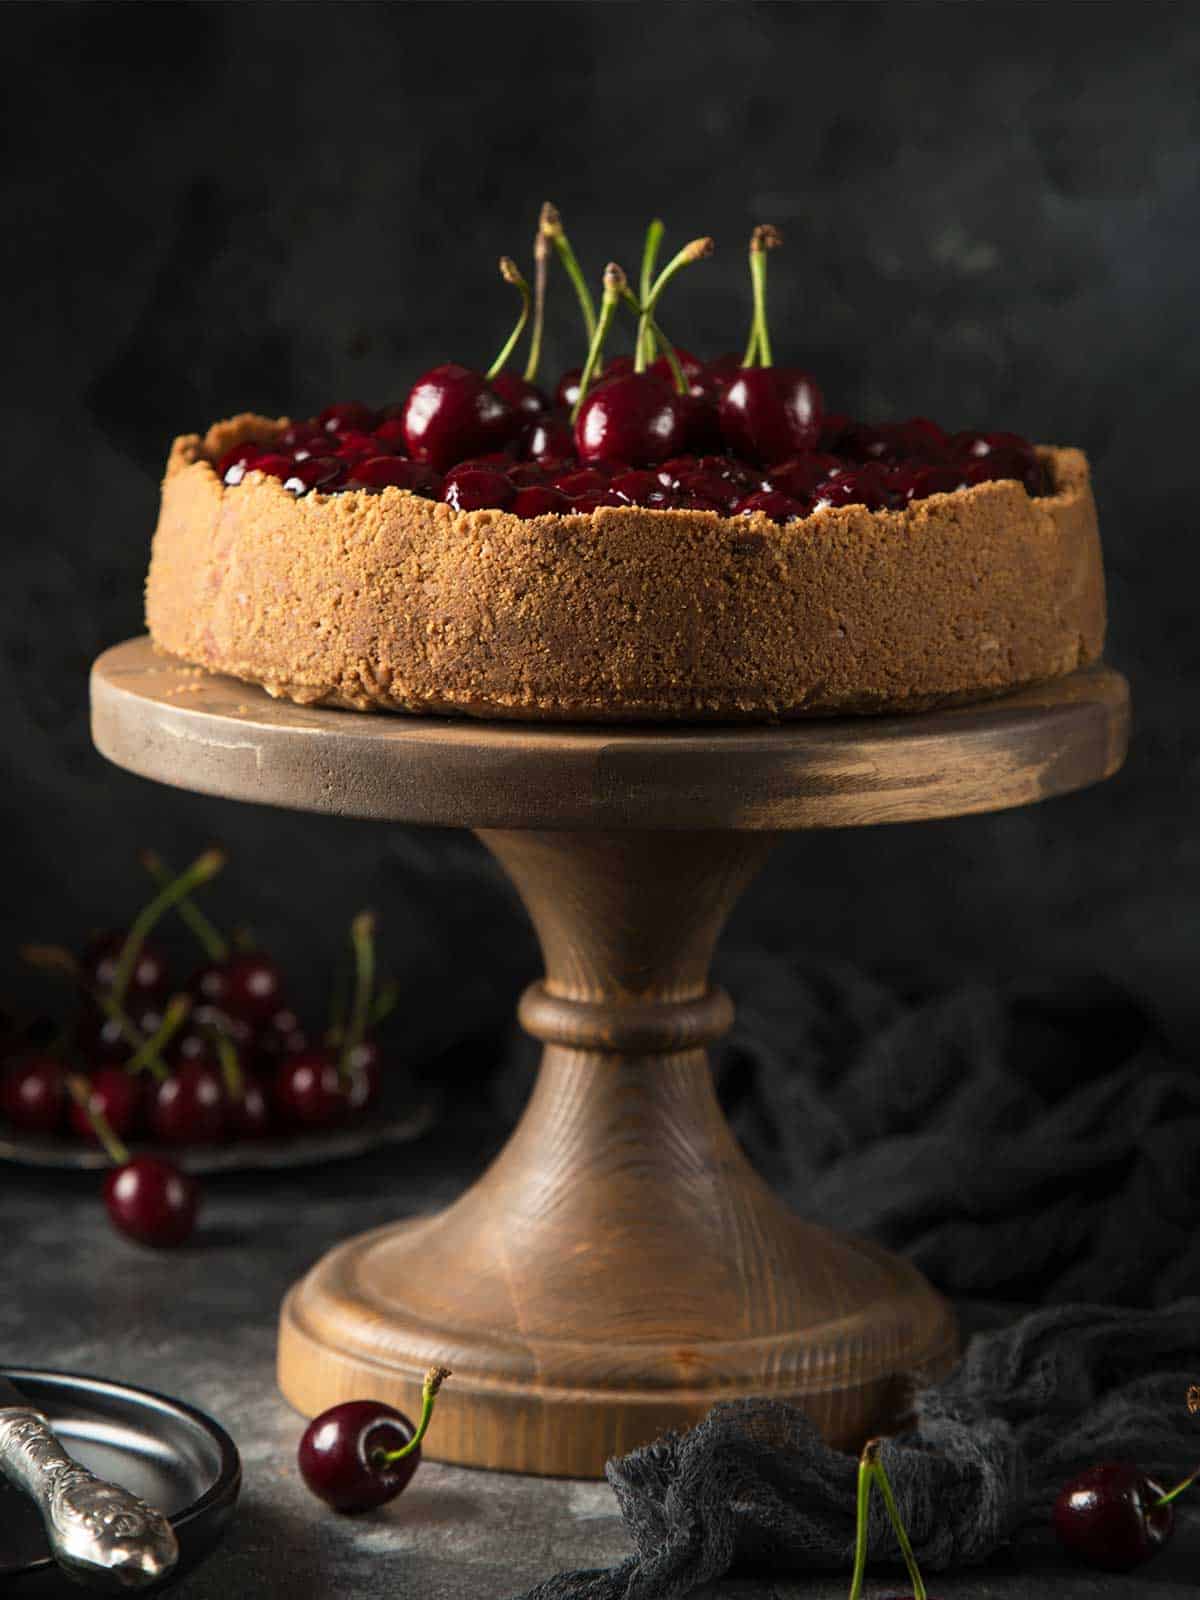
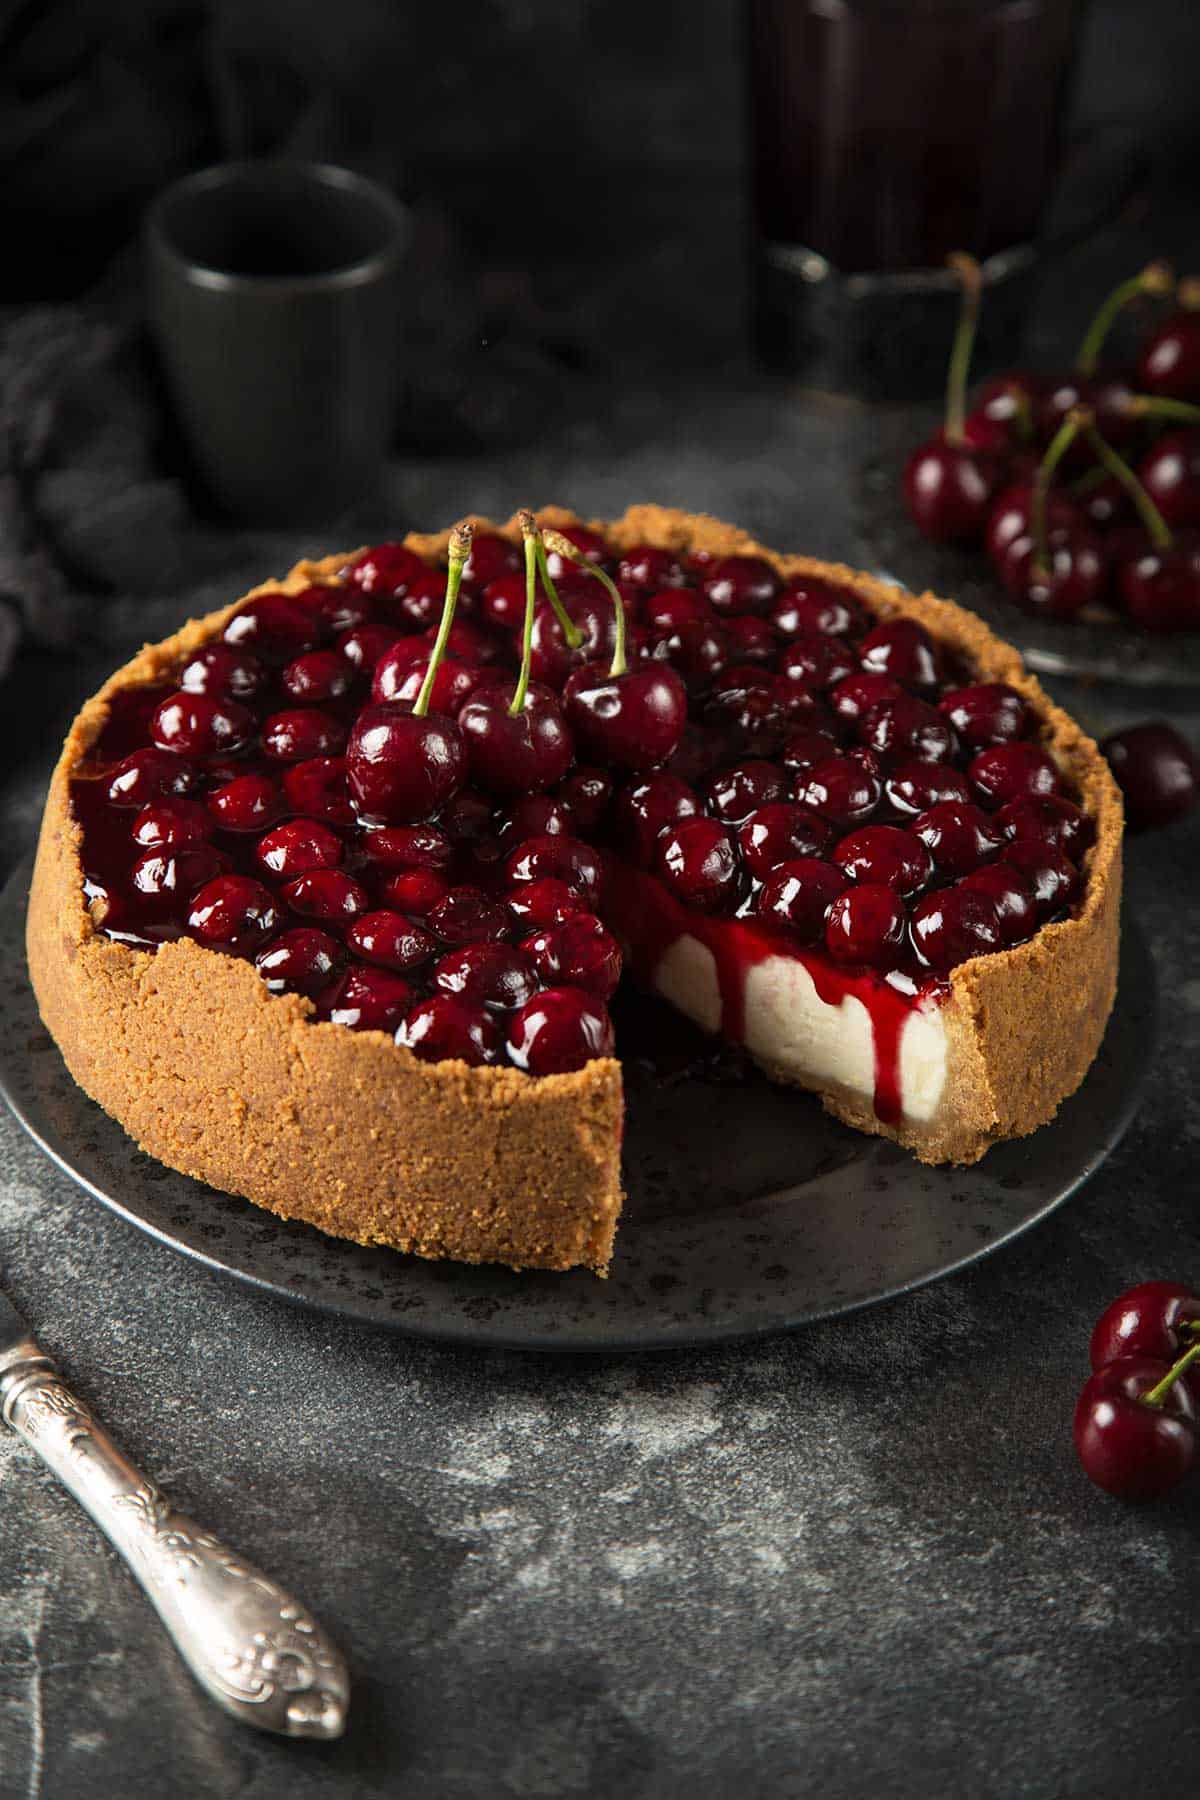
Indulge in the ultimate dessert with this no-bake cherry cheesecake, featuring a rich, creamy filling and a luscious cherry topping. Perfect for any occasion!
In Australia, summer and cherries go hand in hand, but fresh cherries can still be pricey, even in peak season. This recipe lets you enjoy the best of both worlds, using frozen cherries for the topping while adding a few fresh ones for decoration.
It's a delicious way to capture the essence of the cherry season without straining your budget!
This cherry cheesecake is sure to steal the spotlight at your next gathering. It's an entertainer's dream no-bake dessert!
Other great entertaining cheesecakes you may like to try are my white chocolate and mango cheesecake, or my popular cheeselova.
Sara xxx
Quick Tips for Making a No-Bake Cherry Cheesecake
- Choose the Right Cream Cheese: Use full-fat cream cheese for the best texture and flavour. Let it soften at room temperature for easier mixing and a smoother filling.
- Use Cold Heavy Cream: Whip your thickened/heavy cream when it's cold to achieve the perfect stiff peaks, which help the cheesecake set without baking.
- Chill for Best Results: Allow the cheesecake to chill for at least 4-6 hours (or overnight) to ensure it firms up properly for clean, easy slicing.
- Cheesecake Base Tips: Press the crust mixture firmly into the pan using the bottom of a glass or measuring cup for an even, compact base.
- Frozen Cherries Work Wonders: Frozen cherries are a budget-friendly and convenient option for the topping, giving you the flavours of cherry season year-round.
- Decorate Just Before Serving: Add fresh cherries right before serving for a vibrant and polished presentation.
Printable Recipe
No Bake Cherry Cheesecake
Ingredients
Cheesecake Base
- 375 g (14 oz) digestive biscuits or graham crackers | finely crushed
- 150 g (6 oz) salted butter | melted
Cheesecake Filling
- 500 g (14 oz) cream cheese | full fat
- 395 g (14 oz) sweetened condensed milk
- 1 teaspoon finely grated lemon rind
- 65 ml (¼ cup) lemon juice
- 300 ml (1¼ cup )thickened / heavy cream | whipped
Cherry Topping
- 350 g (13 oz) frozen cherries
- 170 g (¾ cup) caster / superfine sugar
- 2 tablespoon lemon juice
- 1½ tablespoon cornflour / cornstarch
To Serve
- handful of fresh cherries as decoration | optional
- freshly whipped cream on the side
Instructions
- Grease a 23cm / 9" round springform pan and line the base with baking paper.
- Combine cheesecake base ingredients in a bowl, and mix until thoroughly combined.
- Press the cheesecake base mixture into your prepared springform pan, into the base and up the sides. Place in the refrigerator until needed.
- Using a stand mixer (or hand beaters) beat cream cheese until smooth and creamy. Continue beating and add condensed milk, lemon rind, and lemon juice.
- Once the mixture is combined and smooth fold in the whipped cream.
- Spoon the mixture into the prepared base and smooth the top. Return to the fridge while preparing the cherry topping.
- Once the cherry topping has cooled to room temperature, carefully spread it over the top of the cheesecake. Cover and refrigerate for at least 4 hours, or overnight.
- To serve run a knife around the inside of the springform pan, and then release the pan. Carefully remove the ring from the pan's base, remove the cheesecake, and place it on a serving plate.
- Top with fresh cherries if in season and serve with a side of whipped cream.
Cherry Topping
- Place all of the cherry topping ingredients into a medium saucepan.
- Over low heat gently stir the ingredients until the sugar has dissolved.
- Increase heat to medium-high and continue stirring until the mixture starts to simmer and thickens. Remove from the heat and set aside to cool.
Oven Temperatures
All oven temperatures are fan forced.
Measurement Notes
All measurements are Australian metric standard. All measures are level, and cups are lightly packed unless specified. 1 teaspoon = 5ml / 1 tablespoon = 20mls / 1 cup = 250ml /4 teaspoons = 1 tablespoon.
Recipe Notes
NUTRITIONAL INFORMATION
The recipe's nutritional information is an approximation based on an online calculator. It is meant solely for reference purposes. If you're looking for precise details, be sure to double-check with your own research.
Trace
Loved your cheesecake ( I must admit I cheated & used canned black cherries). Next time there wont be as many mouths to feed so will have leftovers. Do you think I could freeze the leftovers? Obviously there won't be any fresh fruit on top. Ta.
Sara McCleary
Hi Trace
Nothing wrong with canned cherries, a great substitute for fresh, and easier on the hip pocket. Happy to hear that the recipe was a hit.
I can't see why you couldn't freeze leftovers without the topping. I haven't tried it, but you can buy cheesecakes (not baked) frozen. I would cut it into individual servings before freezing.
If you do freeze portions of your next one, please let me know how you go.
Cheers, Sara